

TheNailGoat.Co
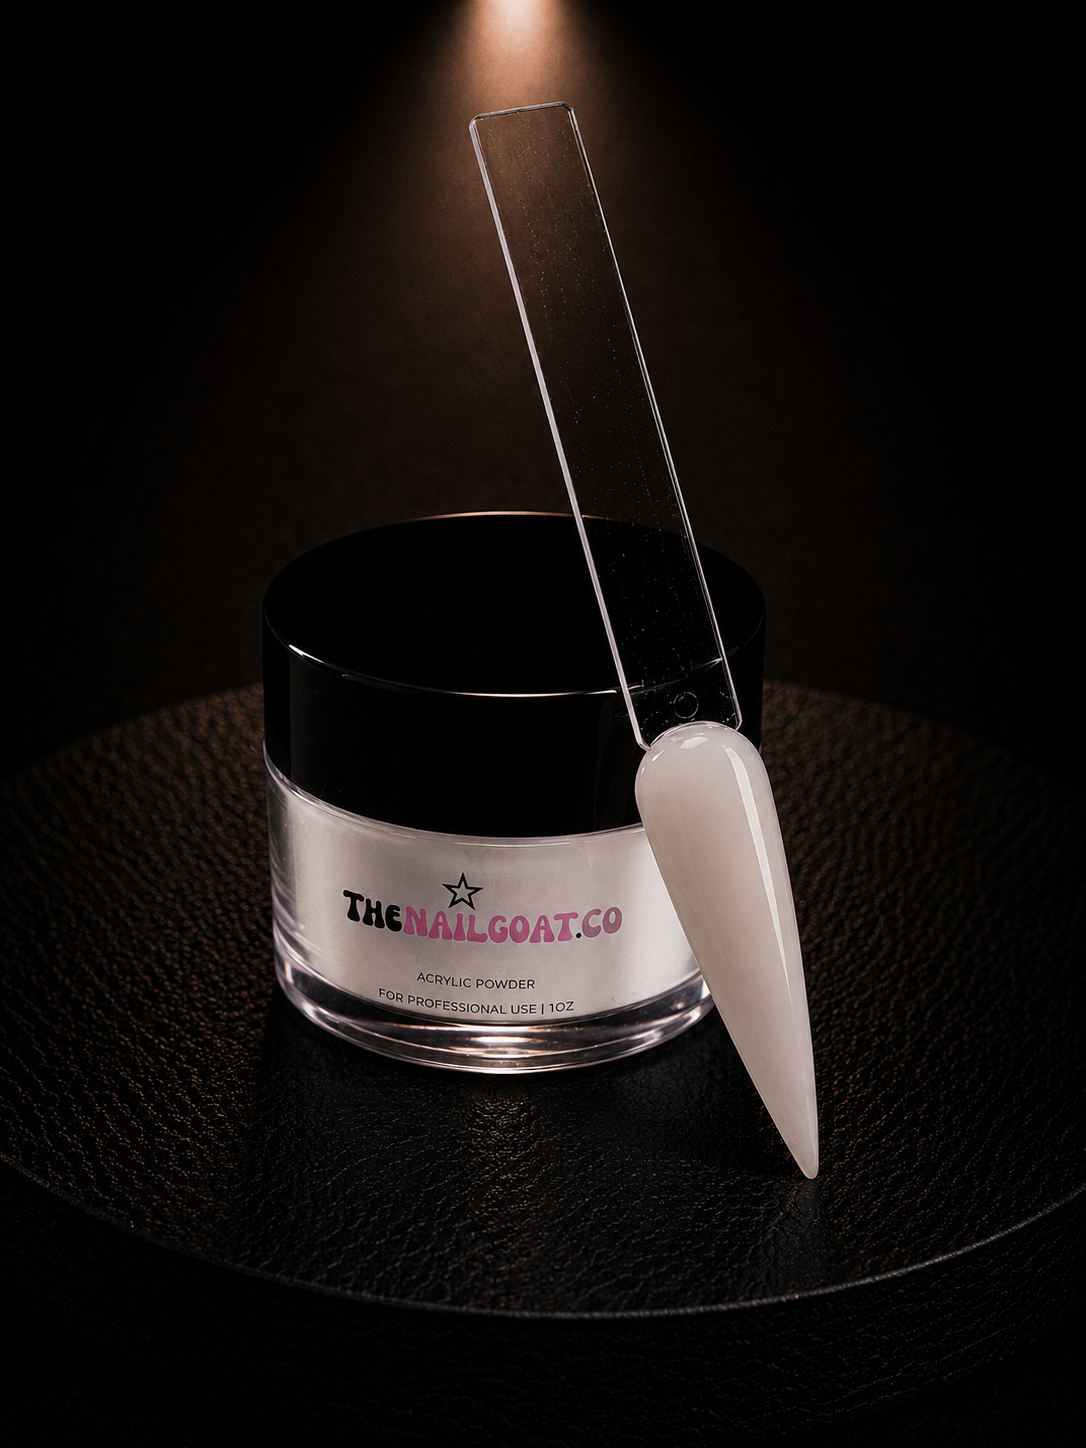
Got Milky Cover Acrylic
Got Milky Cover Acrylic
無法載入取貨服務供應情況
That soft milky shade your clean sets have been waiting for.
Meet Got Milky the creamy, soft cover acrylic shade made for nail techs who love a clean, smooth, natural-looking base.
This shade gives you that milky acrylic look that works beautifully for soft glam sets, French bases, baby boomer ombré, bridal nails, clean girl sets, and everyday client looks. It’s subtle, classy, and polished without being boring.
For best results, pair Got Milky with our TNG EMA Monomer to create a smooth acrylic application and achieve long-lasting, salon-quality results. Together, they help create sets that look clean, professional, and client-ready.
Whether you’re building a natural overlay, creating a soft white-pink base, or using it as the foundation for nail art, Got Milky gives your set that smooth, creamy finish that never goes out of style.
She’s clean. She’s soft. She’s milky in the best way.
Key Features
Soft Milky Cover Acrylic
A creamy, natural-looking shade that creates a clean, smooth base.
Pairs With TNG EMA Monomer
Use with our EMA monomer for smoother application and long-lasting, salon-quality results.
Beginner-Friendly Application
Great for nail techs building confidence with acrylic work.
Perfect For Ombré & Full Coverage Sets
Use it as a base, overlay shade, French base, or full set color.
Client-Friendly Shade
Soft, wearable, and perfect for everyday sets.
Great For Content Sets
The creamy milky finish photographs beautifully for swatches, reels, and client content.
Perfect For
Milky white sets, clean girl nails, bridal nails, French bases, baby boomer ombré, soft glam looks, everyday client sets, and nail techs who need a creamy cover acrylic in their lineup.

How To Use TNG Acrylics
Step 1: Prep the Natural Nail
Proper prep is the foundation of long-lasting retention.
• Push back and remove the cuticle.
• Gently remove the shine from the natural nail using a fine-grit buffer.
• Remove all dust and debris.
• Apply Prep Me Please™ Dehydrator, followed by Prep Me Please™ Acid-Free Primer, allowing each layer to air dry.
Step 2: Prepare Your Brush
Pour a small amount of TheNailGoat.Co EMA Monomer into a dappen dish.
Saturate your acrylic brush with monomer and gently wipe one side of the brush against the dish to control the liquid-to-powder ratio.
Step 3: Pick Up Your Bead
Lightly dip the brush into your desired TheNailGoat.Co Acrylic Powder.
Allow the bead to form naturally before placing it on the nail. A properly balanced bead should appear smooth, creamy, and easy to manipulate.
Step 4: Apply the Acrylic
Apply the acrylic using your preferred bead method, working from the cuticle area toward the free edge.
Use the belly of the brush to press and guide the product into place while maintaining a smooth surface and proper apex.
Step 5: Allow to Cure
Let the acrylic cure completely until it hardens. You should hear a crisp tapping sound when it's fully set.
Step 6: Refine the Shape
File and refine the nail to perfect the structure, sidewalls, apex, and free edge.
Buff the surface until smooth.
Step 7: Finish the Set
Remove all filing dust before applying your favorite gel color or nail art.
Seal the enhancement with TheNailGoat.Co High Gloss Top Coat and cure according to your gel lamp's recommended time.
Pro Tips
• Use medium-sized beads for maximum control.
• Always work with clean monomer to maintain color clarity.
• Wipe your brush frequently during application to prevent product buildup.
• Keep your brush saturated with monomer for smoother application.
• Pair with the complete TheNailGoat.Co Acrylic System for the best performance and long-lasting retention.
With proper prep and application, you'll create beautiful, durable enhancements your clients will love.
Smooth Application. Flawless Results
Create flawless, long-lasting sets with our beginner-friendly cover acrylics. Featuring smooth application, easy bead control, and gorgeous shades for every skin tone, they're made to help you work faster and with confidence. 💗